MTS #12 – Inventory Pictures
Purpose: To provide the information and procedures needed to add inventory pictures to the SMARTSystem.
Keywords: The following is a list of key terms used in the SMARTSystem that you should be familiar with and understand.
- Pixels – Short for Picture Element, a pixel is a single point in a graphic image. Graphics monitors display pictures by dividing the display screen into thousands (or millions) of pixels, arranged in rows and columns. The pixels are so close together that they appear connected.
- .jpg – JPG files, also known as JPEG files, are a common file format for digital photos and other digital graphics. When JPG files are saved, they use “lossy” compression, meaning image quality is lost as file size decreases. JPEG stands for Joint Photographic Experts Group, the committee that created the file type.
- .gif – Pronounced jiff or giff (hard g) stands for graphics interchange format, a bit-mapped graphics file format used by the World Wide Web. GIF supports color and various resolutions. It also includes data compression, but because it is limited to 256 colors, it is more effective for scanned images such as illustrations rather than color photos.
- .bmp – Short for “Bitmap.” The BMP format stores color data for each pixel in the image without any compression. For example, a 10×10 pixel BMP image will include color data for 100 pixels. This method of storing image information allows for crisp, high-quality graphics, but also produces large file sizes. The JPEG and GIF formats are also bitmaps, but use image compression algorithms that can significantly decrease their file size. For this reason, JPEG and GIF images are used on the Web, while BMP images are often used for printable images.
- SMARTData Services – manages information for:
- wireless database interaction with the 3190 scanner and
- capturing pictures for use with the SMARTSystem and SMARTSite.
Pre-requisites:
SMARTData Services needs to be installed and setup before pictures can be added.
Pictures need to be captured and saved in your pictures folder. Pictures can be captured in any one of 3 formats: .jpg, .gif, .bmp. See definitions of each type in the Keywords list above.
To capture pictures that will be effective on a website and in the SMARTSystem you need to adhere to the following guidelines:
- The picture should be at least 250 pixels on the longest axis (Height if Tall Picture, Width if Wide Picture).
- The picture should not be greater than 950 pixels wide. Images wider than this could potentially clip on lower resolution screens (1024×768).
- Should not be greater than 700 pixels tall. Images taller than this could potentially clip on lower resolution screens (1024×768).
Overview:
- Open the SMARTSystem and Login.
- Select the Inventory Menu and sub-menu Inventory View.
- Use the filter criteria to select the product that you would like to add a picture.
- Double click the product to show it in the Inventory Maintenance Screen.
- Click the Product Picture Tab. *
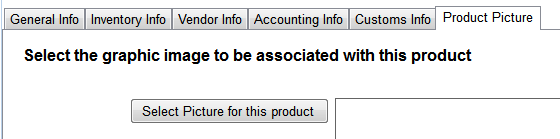
6. Click the “Select Picture for this product” button to select a picture from the folder containing your pictures.
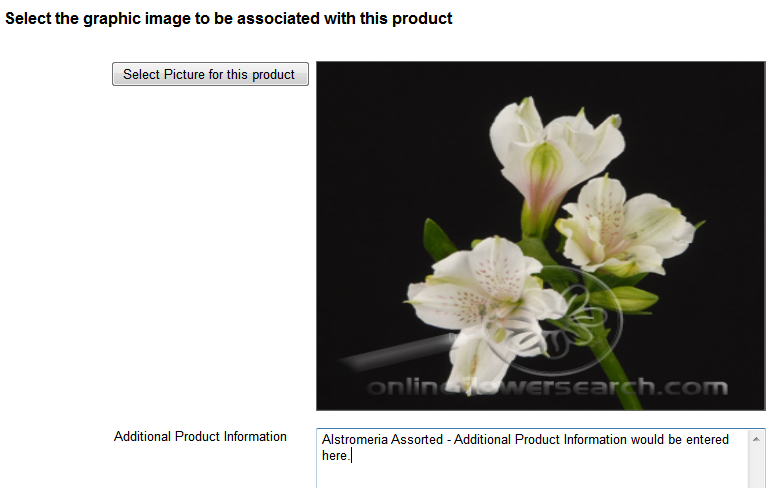
7. Find the picture you want to associate with the product and click the “Open” button.

8. Please be aware that when the picture is shown in the square area on the screen, it will be skewed to fit the square area. This does not affect how the picture will be saved or how it will appear on the website.
9. Enter any additional product information in the Additional Product Information Text Area:
10. After you have entered the Additional product information Click the Modify button to Save your changes
* NOTE: If the Product Picture Tab is not available please contact FCS Support and ask them to install the SMART Data Services module on your Server.